|
| "Hey Boo Boo, it's a picinic basket!" |
Saturday was a beautiful day here in Porterville, California. It was sunny and 65 degrees, perfect yard sale weather.
Quite frankly, I was surprised I even had the energy to go out Saturday morning and thrift. Friday night Tessa just would NOT sleep, she was tired but she decided screaming was a better use of her time. It took Mom and me, both to get her to finally go to sleep. We weren't even sure we would feel like getting up in the morning, but we did.
We set out with the little one about 8:45 am. In one yard sale I found a couple of toys and two really cute dresses for Tessa, she LOVED the toys. I love them, too, they're easy for her to grab onto and aren't hard like her other toys so I don't have to worry about her accidentally hitting herself with it.
 |
| Tea for two anyone? |
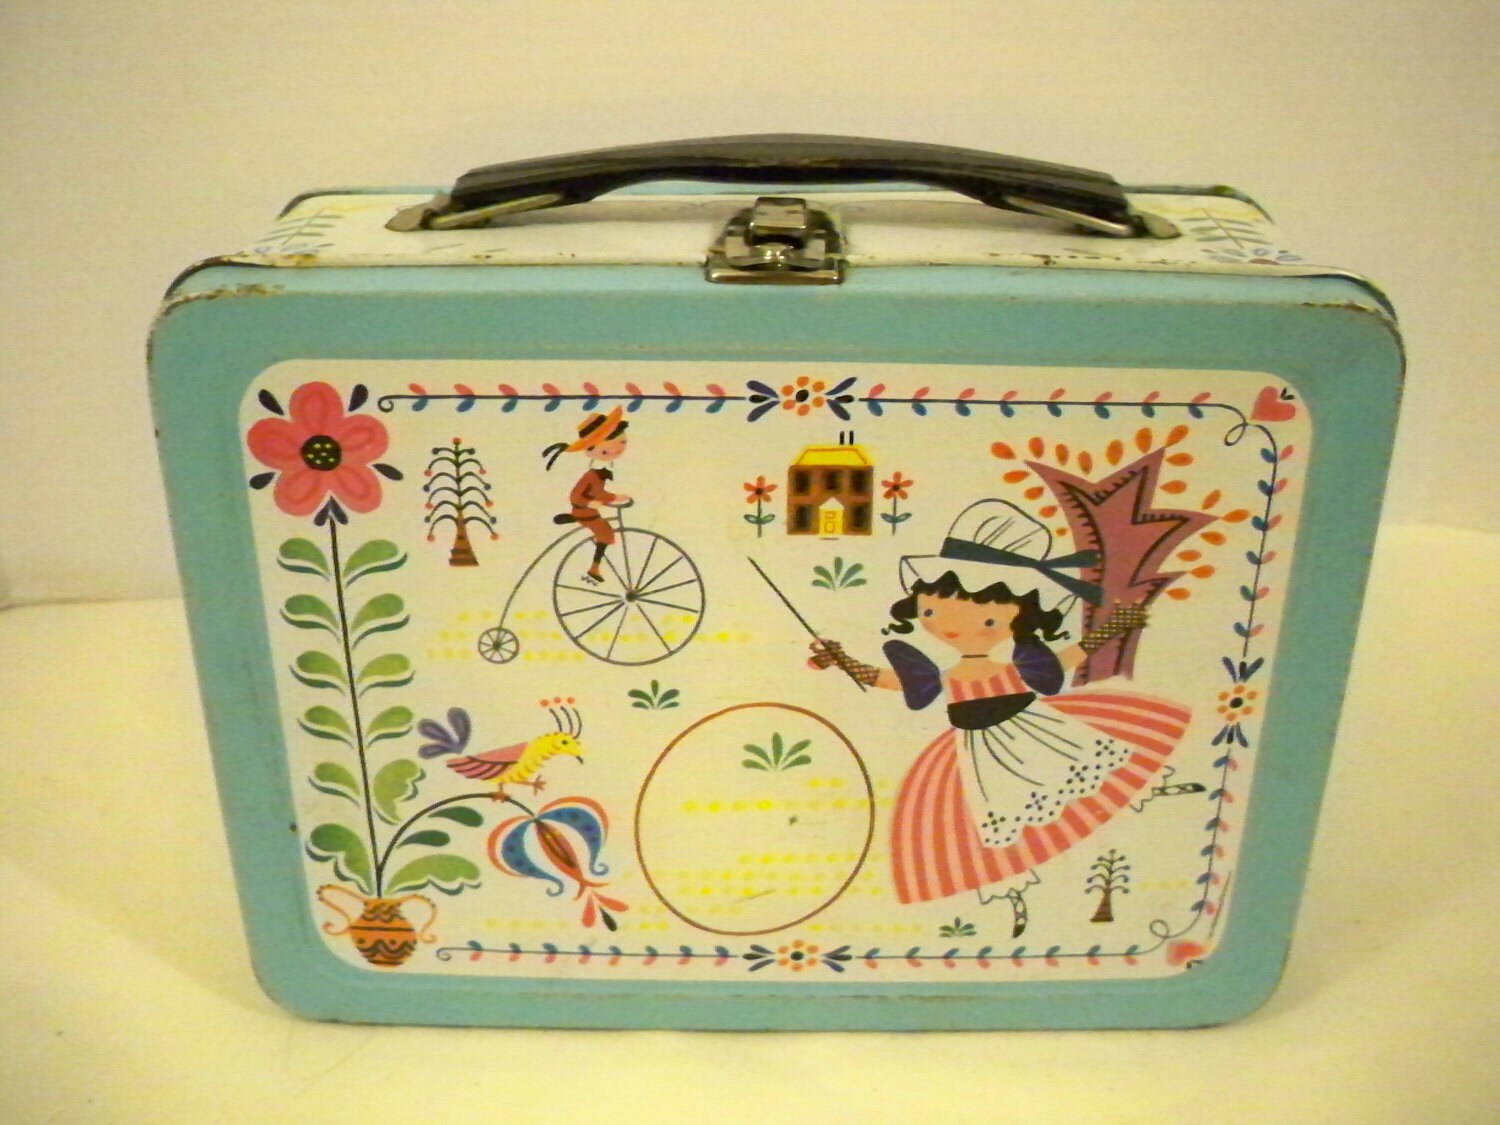
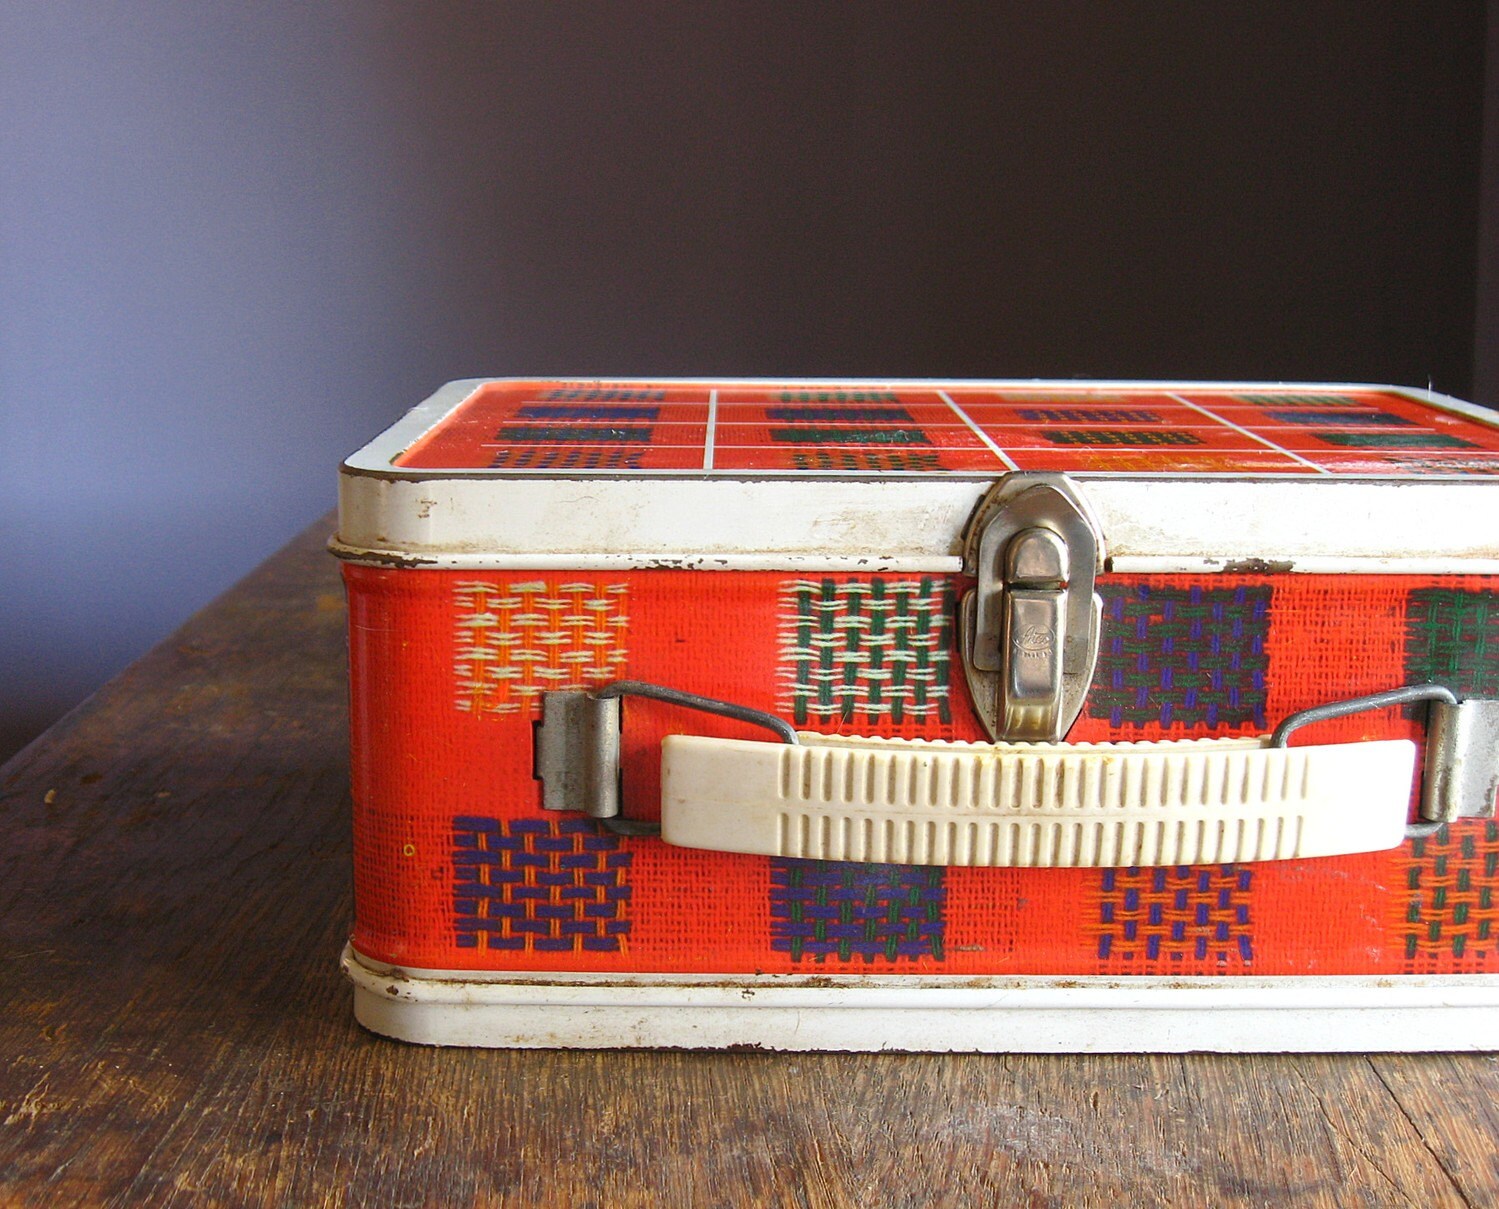
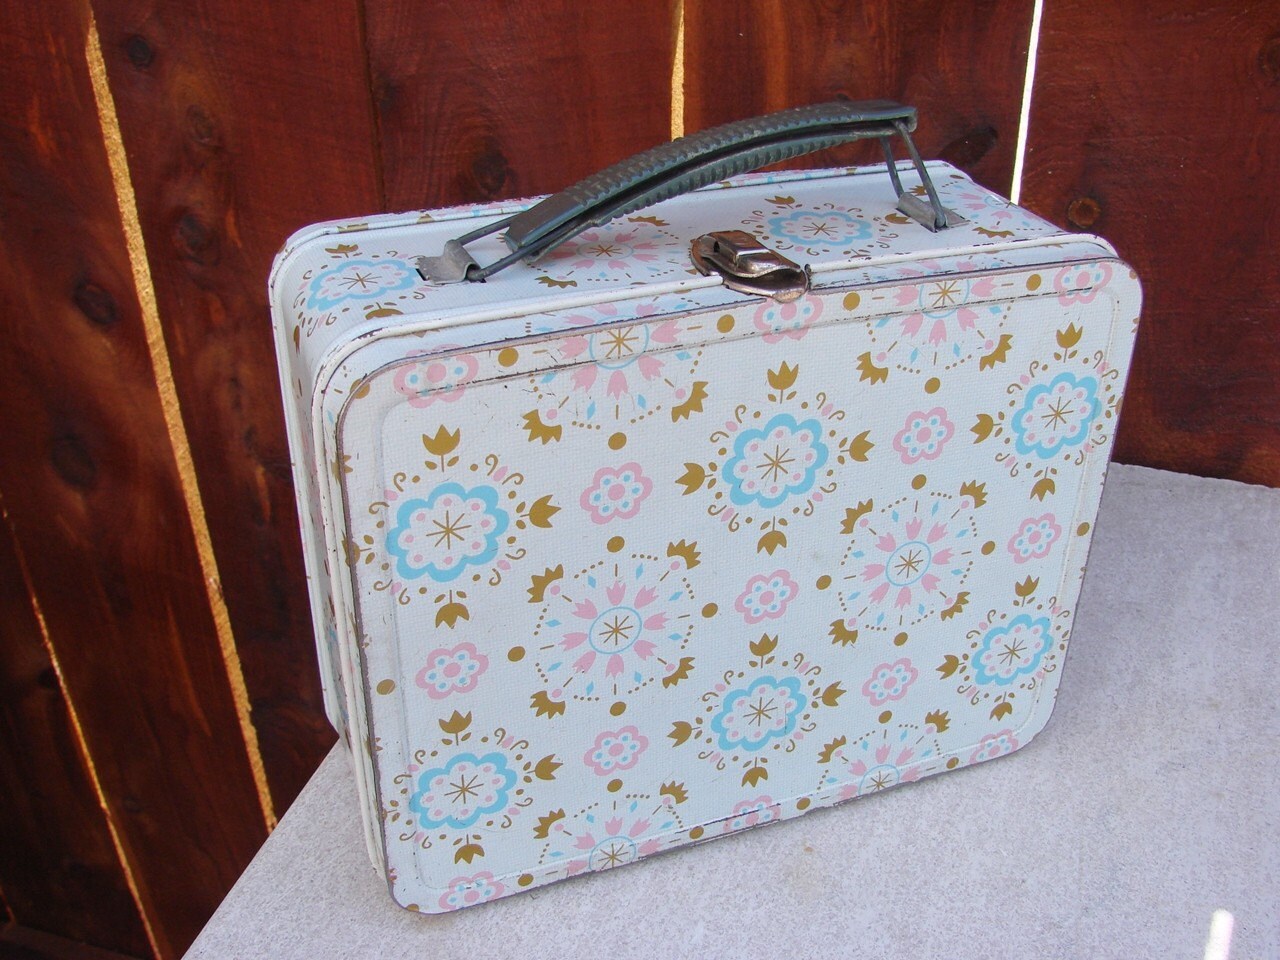
I found an old picnic basket for my bike! I was so excited, I very rarely reach my goal when I'm out and about at yard sales. I was thrilled with my find. We found another yard sale with three different picnic baskets, there was one that was much nicer than the one I had picked up earlier but wasn't as deep. Mom bought a little glass tea set for Tessa when she's older and a stone vase/pot for herself. I found this really cool vintage lamp, i would guess from 60's or 70's, but when I plugged it in at home it turned out it didn't work very well. But I only paid $.50, so its not like I was at a huge loss. Once we were done, we picked up some breakfast and headed home. We had a very good morning.
My sewing project started off a little rocky. I had everything measured out and pinned together, it was actually turning out quite smoothly. But when it came time to turn it right side out, I realized I attached the straps wrong and had to take it all apart and start over, bleh.
So after much seam popping and re-pinning here is the final result.
First, you want to measure your seat and figure out how much of the seat you want to cover; do you want it to cover the entire back portion or just where your back will be touching the seat? Do want it to cover the seat part so your booty doesn't get burned when you sit? So measure accordingly. Mine is 20 inches long and 12 inches wide. You also want to measure the width of the head rest so you know how far apart to attach the straps.
Next, pick out your fabrics, I chose two coordinating fabrics with different patterns. The top fabric is more of corduroy material and the back fabric is just your everyday cotton material. You don't have to, but its best that one of the materials is thicker than the other so your back is more protected from the heat.
Tip: you could put batting in between the two materials for a little extra comfort and extra protection.
 |
| My two fabrics, right side facing me |
Cut out your two pieces of fabric according to the size you want, I left an extra half inch on all sides for seam allowance. Then cut out your straps, I made mine an inch in width and twelve inches long.
 |
| My straps, I used the cotton fabric since the corduroy would be hard to fold |
To sew the straps, I folded the raw edges inward, toward the wrong side of the fabric and then folded the strap in half length wise so that the raw edges were on the inside and pinned it together (don't worry about the ends). If your having trouble keeping the raw edges in place, iron them down and then fold, then pin. When you sew your straps your only going to do a top stitch along the sides, again, don't worry about the ends. Don't forget to do your back stitch!
 |
| This is where I messed up, I didn't tuck the remaining strap inside, don't pay attention to the fact this is ribbon, not my strap |
|
|
|
Now, pin your two pieces of fabric together, right sides facing each other. When your doing this, pin your straps to the outside of one of the fabrics and then tuck the remaining length of strap in between the two fabrics so that when you make your turn, the straps will be on the outside. Be sure to pin your straps apart according to the width of your head rest.
Once its all pinned together start sewing, remember to leave at the most, half inch seam allowance. Don't sew all the way around, leave at least 4-5 inches of unsewn fabric so that you can turn it right side out. Before turning it right side out be sure to trim the excess fabric if you need to, especially the corners.
Once thats all said and done, do a top stitch along the hole to close. Now your all done! Take the straps and tie it around the head rest! I attached each strap to one of the bars underneath.
I have to try this out to see if it will keep my back from getting sweaty during the summer, but its supposed to be in the 70's all week, perfect for testing it out.